How to sync your cloud using get2Clouds
- Select the settings wheel icon located in the top right corner on the get2Clouds menu
- Tap “Cloud Settings”
- Tap new and enter your profile name
- Select your cloud provider
- Set your own encryption password for further security
- Choose the local folder you wish to synchronize and tap OK
- Your files are now ready to be encrypted using get2clouds software
- You can now view, share, sync and send your files securely with clients and friends
How to register your phone number
- Select the settings wheel icon located in the top right corner of the get2Clouds menu
- Tap “Messenger Settings”
- Enter your phone number
- Or register an anonymous 555 number for additional security
- Select OK
- Your phone is now registered with get2clouds and you can send and receive messages
- A verification code will be sent to your device. You can enter this code to sync your account to multiple devices
- You can unregister your phone number if you no longer want to use direct communication
How to transfer a file
- Select the “File Transfer” button on the get2Clouds menu
- Do you want to send a file via E2E Messenger or email?
How to send a file via E2E Messenger
- Enter the name of the receiver
- (Optional) Request FaceCheck for verification of who opens the file
- Enter message for receiver
- Choose file to transfer
- Select desired cloud provider and profile
- (Optional) Choose to automatically generate an encryption password for receiver or set your own. If setting your own, securely give this password to the recipient via another channel.
- Tap start upload to begin file transfer
How to send a file via email
- Select “File Transfer” button on get2Clouds menu
- Select the envelope icon
- Enter name of sender
- Enter email of sender
- Enter name of receiver
- Enter email of receiver
- Enter message for receiver
- Select the file you wish to transfer
- Select cloud provider you wish to use
- (Optional) Choose to automatically generate an encryption password for receiver or set your own. If setting your own, securely give this password to the recipient via another channel.
- Tap start upload to begin file transfer
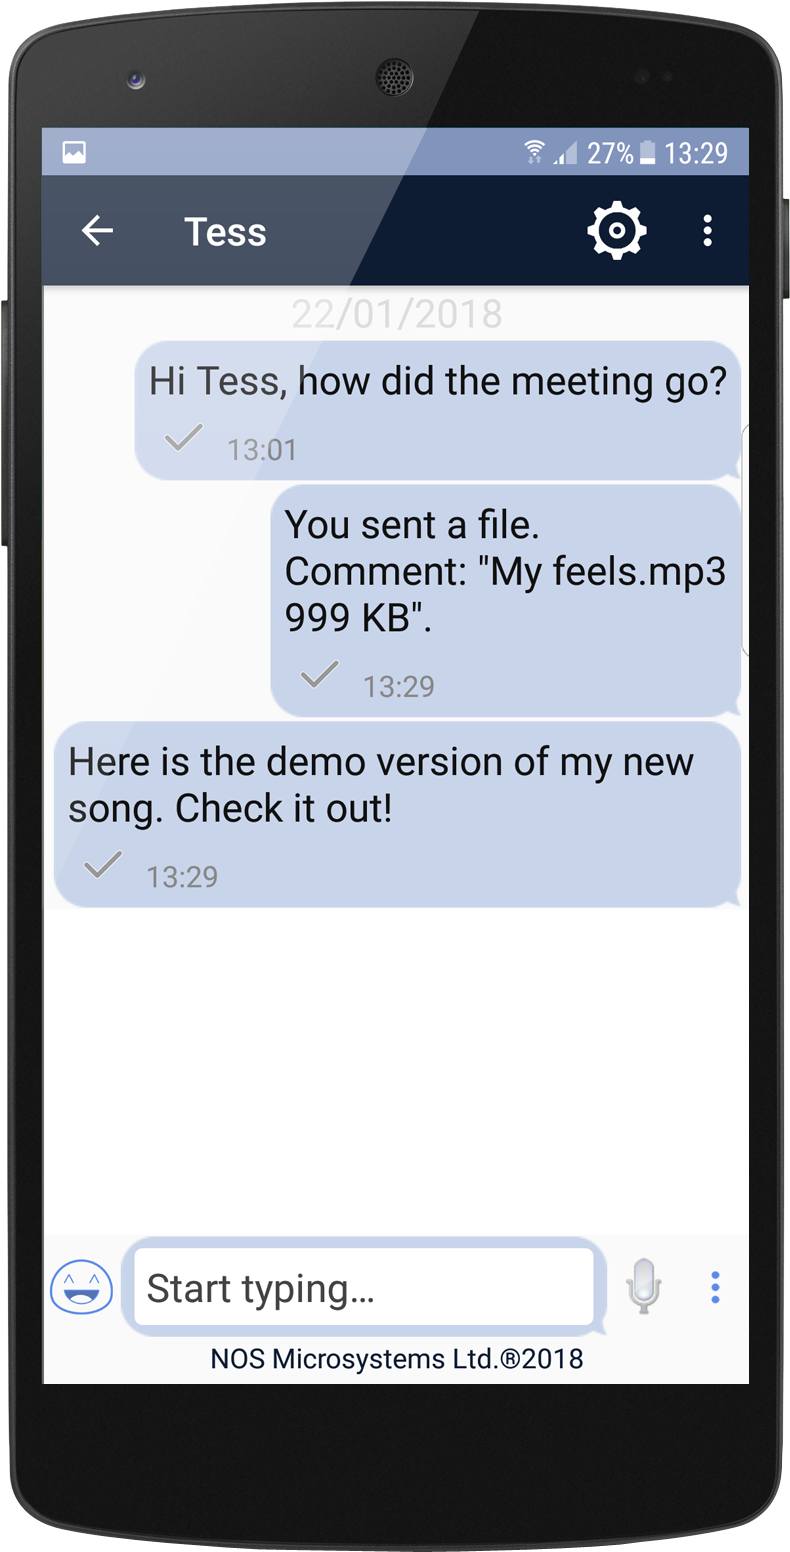
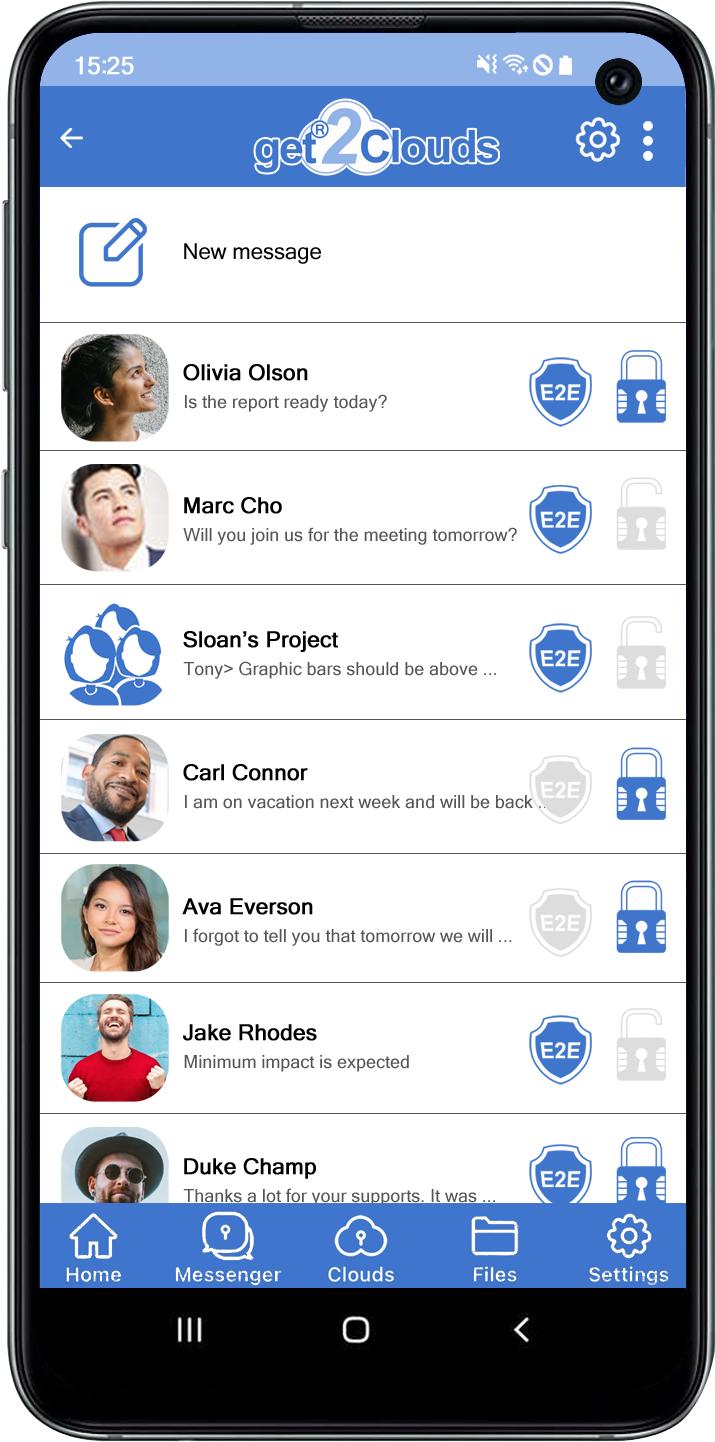
How to chat using the E2E Secured Messenger
- Select “E2E Secured Messenger” icon in centre of get2Clouds menu
- Tap new message
- Tap the get2Clouds icon at the top to see other contacts using get2Clouds
- Select the person you wish to chat with
- Enter your message and tap the send button
- You can also record a voice message by tapping the microphone
Your options within the E2E Secured Messenger
- Tap the three dot icon in your current chat screen
- A six option menu will appear
- You can request a FaceCheck of the person you are chatting with
- Set an E2E encryption password for added security
- Set a time to send files on the message, great for international time zones
- Set a timed delete of the sent message
- Make a file transfer
- Attach an Image

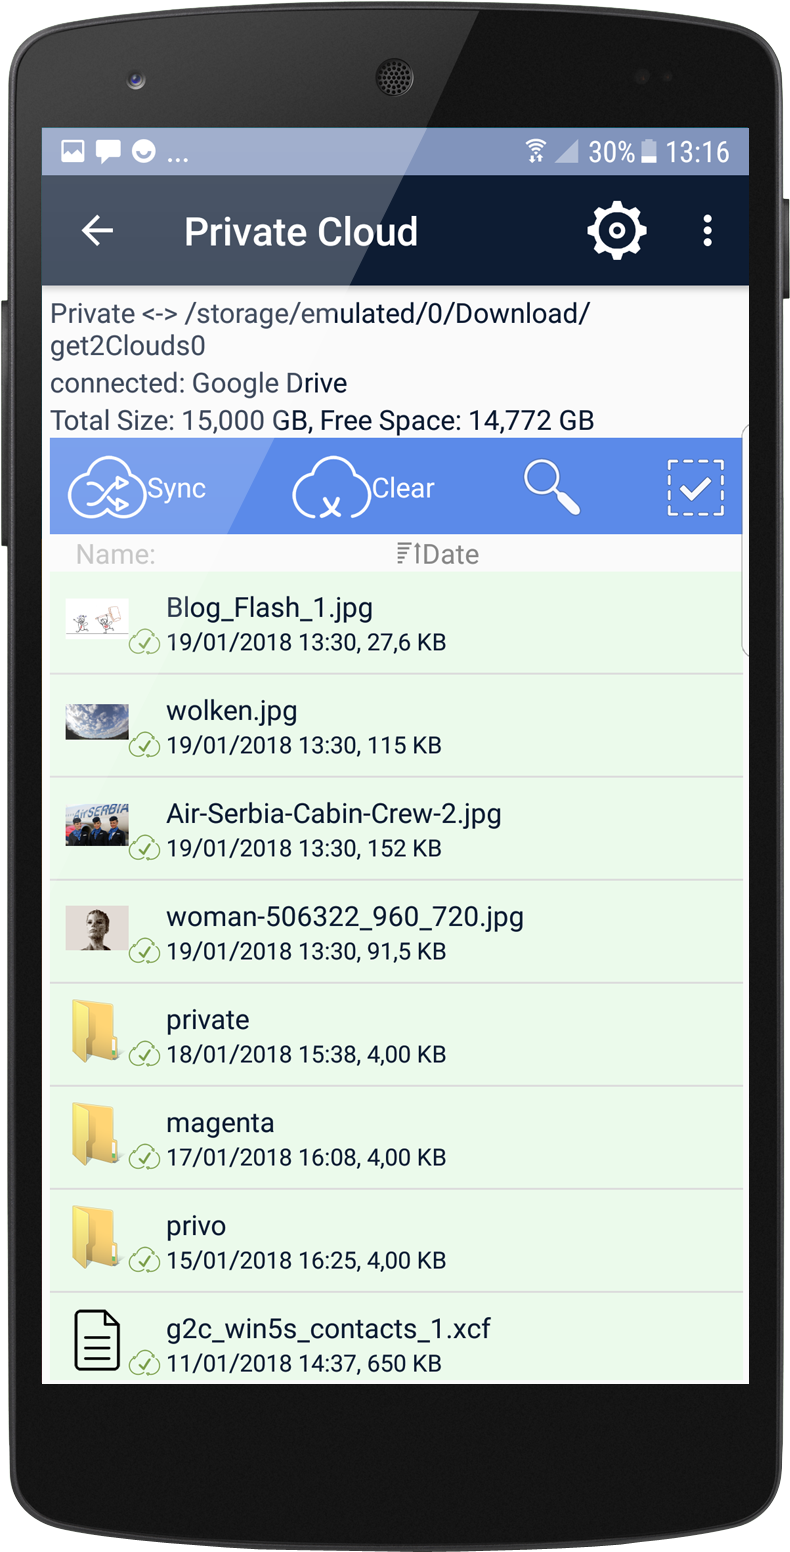
Private Cloud
- Select “Private Cloud” from the get2Clouds menu
- Enter your profile name
- Select your cloud provider
- (Optional) Set encryption password for further security
- Choose local folder you wish to synchronize and tap OK
- You can sync multiple cloud providers using get2clouds
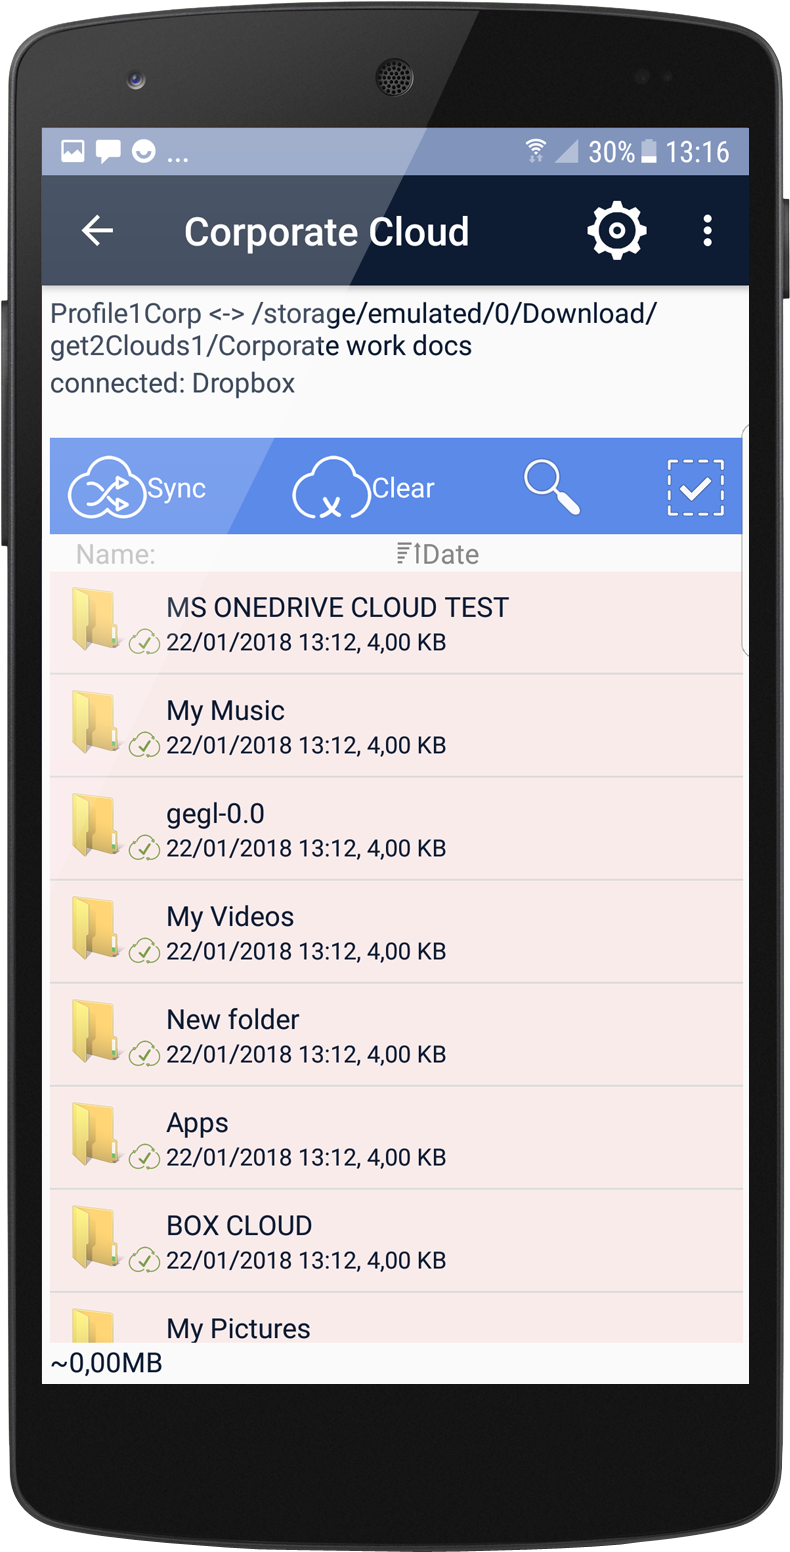
Corporate Cloud
- You can sync a corporate cloud account using get2clouds to separate your personal and business accounts
- Select “Corporate Cloud” from the get2Clouds menu
- Enter your profile name
- Select your cloud provider
- (Optional) Set encryption password for further security
- Choose the local folder you wish to synchronize and tap OK
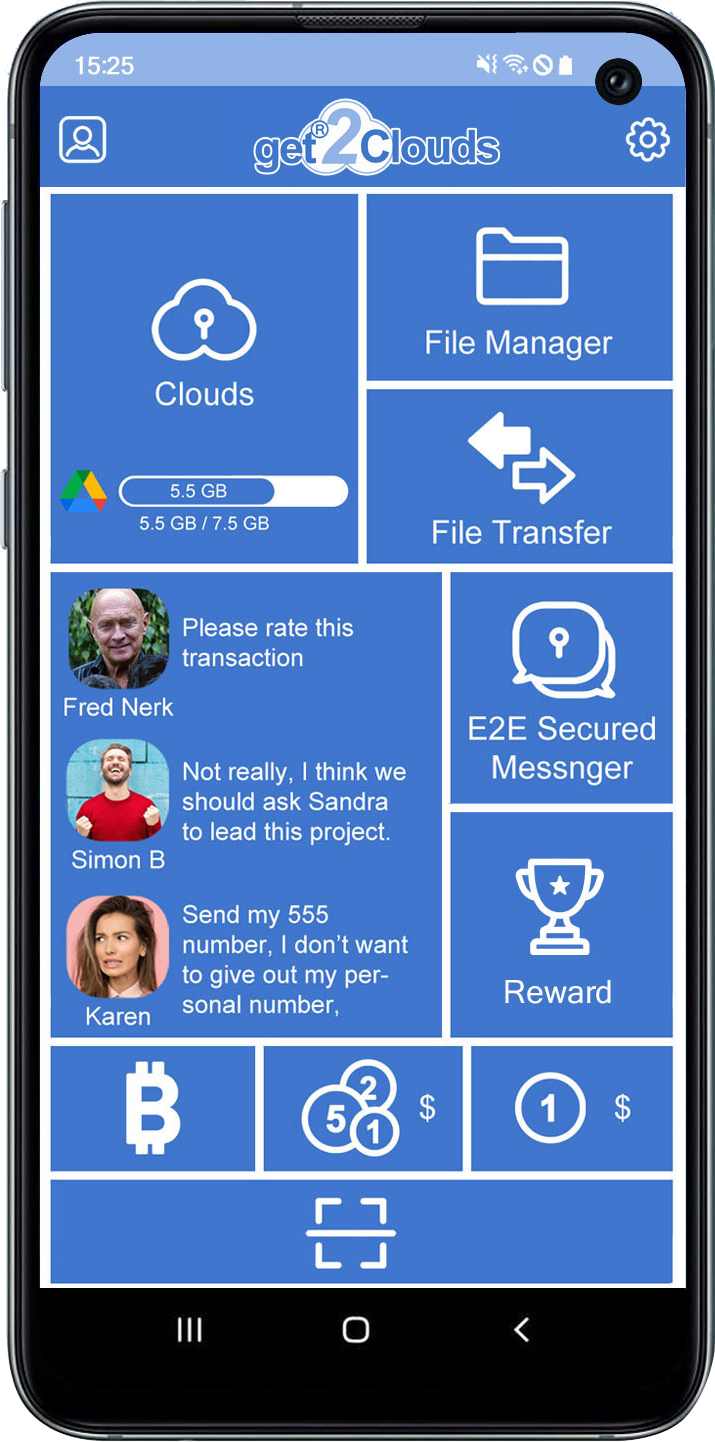
File Manager
- Select “File Manager” from the get2Clouds menu
- Here you will see all your local files and the files synced with your Cloud
- Easily edit file names, move files, add folders and organize data securely

The File Manger within the get2Clouds application is an encrypted library for all your files. All internal files from your device automatically sync to here. Files from stored cloud accounts will also sync here, as will all files received via the app. This keeps data secure, organized, and allows the user to seamlessly maneuver between all files, manage content, and create new folders to share.
We are happy to help! Please feel free to contact us if you have any further questions.